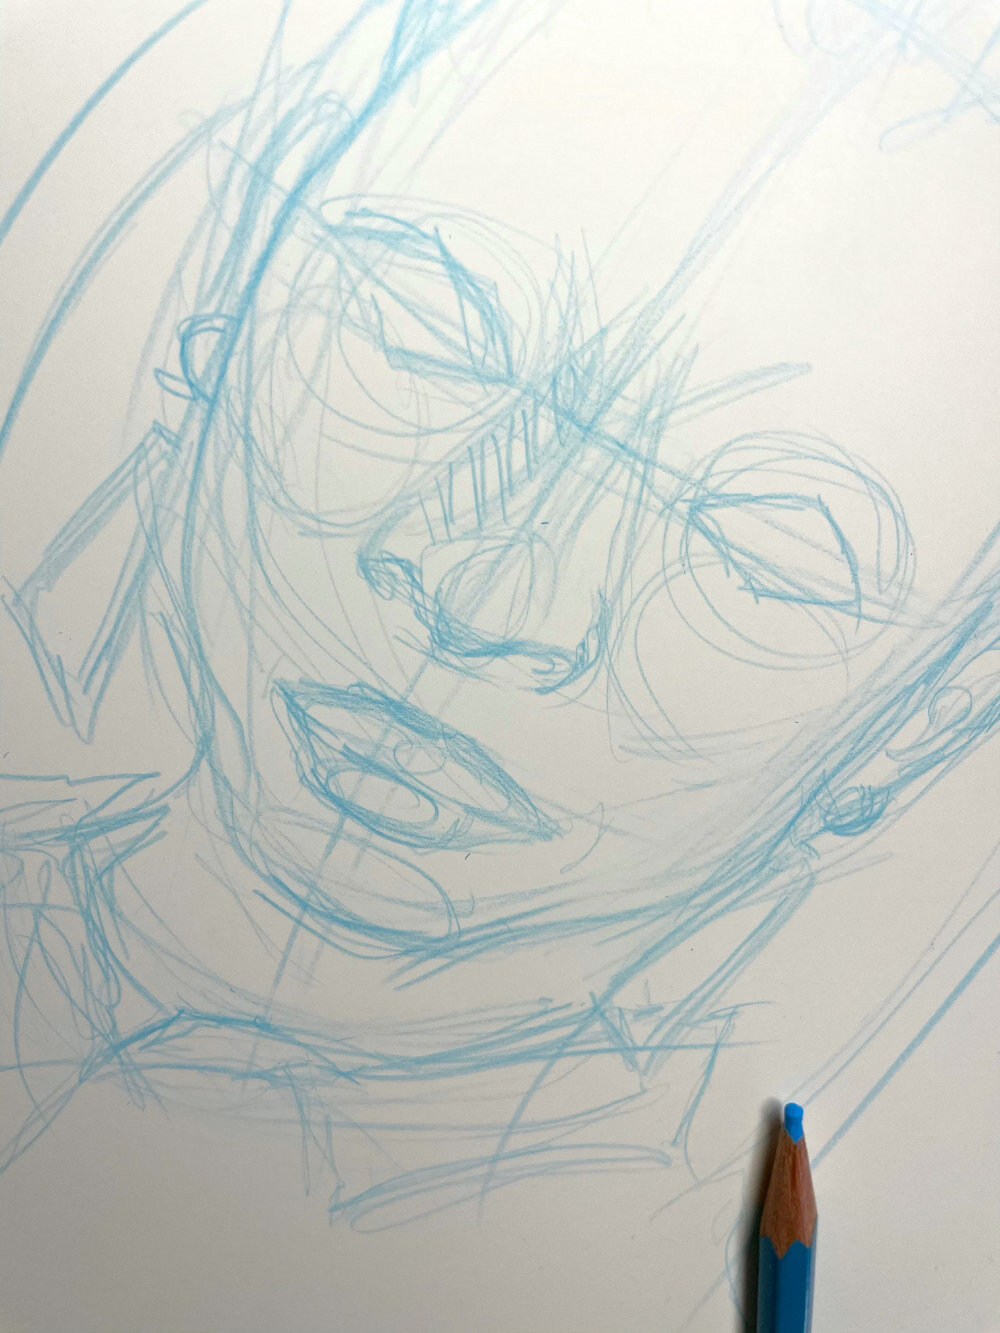
Sketchbook Peek: Rough Sketching And Value Studies
The allure of art often lies in its polished finality, the pristine presentation that obscures the countless hours and iterations that paved the way. We admire the smooth strokes of a portrait, the vibrant colors of a landscape, or the intricate details of a still life. But what about the genesis of these masterpieces? What about the raw, unfiltered process that breathes life into an idea? The journey from a spark of inspiration to a completed artwork is rarely linear. It's a winding path filled with experimentation, corrections, and moments of both frustration and elation. It's a process that deserves its own spotlight, a glimpse behind the curtain to reveal the artist's creative sanctuary. This is where the magic truly happens, where ideas are born, and where the foundation for something beautiful is laid. Exploring the preliminary stages of art creation is akin to uncovering a hidden treasure. It allows us to appreciate the evolution of a concept and understand the artist's decision-making process. We gain insight into the techniques used, the challenges faced, and the solutions devised. It's a journey into the mind of the creator, offering a unique perspective on their artistic vision. Think of the sculptor chipping away at a block of marble, revealing the form within. Or the writer scribbling furiously in a notebook, capturing fleeting thoughts and weaving them into a narrative. Similarly, the visual artist often begins with simple sketches and value studies, exploring composition, form, and light before committing to a final piece. Join us as we delve into the fascinating world of artistic exploration, specifically focusing on the essential practice of initial sketching and value studies. Get ready for a Sketchbook Peek: Rough Sketching and Value Studies, where we'll unlock the secrets of capturing ideas and building a solid foundation for your artwork. This Sketchbook Peek: Rough Sketching and Value Studies will provide insight into the process. Let's begin this Sketchbook Peek: Rough Sketching and Value Studies!
The Importance of Initial Sketching
Capturing the Fleeting Idea
The initial sketch serves as a vessel for capturing fleeting ideas before they vanish. These sketches are not meant to be perfect or polished; they are simply a way to quickly translate what's in your mind onto paper. Think of them as visual notes, capturing the essence of a concept before it fades away.
Don't be afraid to make mistakes. Embrace the imperfections and allow your hand to move freely. The goal is to get your ideas down quickly and efficiently, without getting bogged down in details. These sketches are for your eyes only, so don't feel pressured to create something presentable.
Experiment with different mediums. Use a pencil, a pen, a charcoal stick, or even a digital stylus. Each medium offers a unique feel and allows you to explore different mark-making techniques. Find the medium that best suits your style and allows you to express your ideas freely.
Carry a sketchbook with you at all times. Inspiration can strike at any moment, so it's important to be prepared. Whether you're waiting for a bus, sitting in a coffee shop, or simply relaxing at home, a sketchbook allows you to capture your ideas whenever they arise.
Remember, the initial sketch is not the final product. It's simply the starting point, the foundation upon which you will build your artwork. Don't be afraid to experiment, explore, and push your boundaries. The more you sketch, the better you'll become at translating your ideas into visual form.
Exploring Compositional Possibilities
Beyond capturing initial ideas, sketching is a powerful tool for exploring different compositional possibilities. A strong composition is essential for creating a visually appealing and engaging artwork. It guides the viewer's eye and creates a sense of balance and harmony.
Experiment with different arrangements of elements within your sketch. Try placing your subject in the center, off to the side, or even partially obscured. Consider the use of leading lines, focal points, and negative space to create a dynamic and interesting composition.
Use thumbnails to quickly explore different compositional options. Thumbnails are small, quick sketches that allow you to experiment with different arrangements without getting bogged down in details. Create several thumbnails of the same subject, each with a different composition.
Pay attention to the overall balance of your composition. Ensure that the elements are distributed in a way that feels visually pleasing and avoids creating a sense of imbalance or unease. Consider the use of symmetry, asymmetry, and the rule of thirds to achieve a harmonious composition.
Don't be afraid to break the rules. While there are certain guidelines for creating a strong composition, they are not set in stone. Experiment with different approaches and find what works best for you. Ultimately, the goal is to create a composition that effectively communicates your artistic vision.
Refining Forms and Proportions
Once you have a general idea of your composition, you can begin to refine the forms and proportions within your sketch. This involves paying closer attention to the shapes and sizes of your subjects and ensuring that they are accurately represented.
Use simple geometric shapes to break down complex forms. This can help you to understand the underlying structure of your subject and to accurately represent its proportions. Start with basic shapes like circles, squares, and triangles, and then gradually add more detail.
Pay attention to the relationships between different forms. Consider how they interact with each other and how they create a sense of depth and perspective. Use overlapping shapes and varying line weights to create a sense of dimension and realism.
Check your proportions frequently. Use a ruler or your own hand to measure the relative sizes of different parts of your subject. This can help you to identify any inaccuracies and to make corrections as needed.
Don't be afraid to erase and redraw. Sketching is an iterative process, and it's perfectly normal to make mistakes. Erasing and redrawing allows you to refine your forms and proportions until they are accurate and pleasing to the eye.
Remember, the goal is not to create a perfect representation of your subject. It's simply to create a foundation upon which you can build your artwork. Focus on capturing the essential forms and proportions, and don't get bogged down in unnecessary details.
Understanding Value Studies
Defining Light and Shadow
Value studies are essential for understanding and representing light and shadow in your artwork. Value refers to the lightness or darkness of a color or tone. By studying values, you can create a sense of depth, form, and realism in your paintings and drawings.
Start by identifying the light source in your scene. This will determine the areas that are the lightest and darkest. Observe how the light interacts with the surfaces of your subjects, creating highlights, shadows, and mid-tones.
Use a grayscale value scale to help you identify and compare different values. A value scale typically consists of a range of values from pure white to pure black, with several shades of gray in between. Use this scale to match the values you see in your scene.
Pay attention to the direction of the light. Light rays travel in straight lines, so the direction of the light source will affect the placement and shape of shadows. Observe how the shadows fall on your subjects and how they interact with the surrounding environment.
Consider the ambient light in your scene. Ambient light is the indirect light that bounces off of surfaces and fills in the shadows. It can soften the edges of shadows and create a more natural and realistic appearance.
Creating Depth and Form
Value studies are crucial for creating a sense of depth and form in your artwork. By using different values to represent light and shadow, you can create the illusion of three dimensions on a two-dimensional surface.
Use lighter values to represent areas that are closer to the light source and darker values to represent areas that are farther away. This will create a sense of depth and perspective, making your subjects appear more three-dimensional.
Pay attention to the gradual transitions between values. Smooth transitions create a sense of roundness and volume, while abrupt transitions create a sense of sharpness and contrast. Use blending techniques to create smooth transitions between values.
Use value contrast to create focal points. Areas with high value contrast will attract the viewer's attention, while areas with low value contrast will recede into the background. Use this technique to guide the viewer's eye and create a sense of visual interest.
Consider the surface texture of your subjects. Different textures reflect light in different ways, creating variations in value. Use different shading techniques to represent different textures, such as smooth, rough, or shiny surfaces.
Simplifying Complex Scenes
Value studies can help you simplify complex scenes and focus on the essential elements. By reducing your scene to its basic values, you can more easily understand the underlying structure and composition.
Start by creating a simplified value sketch of your scene. Use only a few values to represent the major areas of light and shadow. This will help you to identify the key elements of your composition and to eliminate unnecessary details.
Focus on the overall pattern of values. Look for areas of light and dark that create a sense of balance and harmony. Use this pattern to guide your composition and to create a visually appealing artwork.
Avoid getting bogged down in details. The goal is to simplify the scene and to focus on the essential values. Don't worry about capturing every nuance of light and shadow. Just focus on creating a clear and concise representation of the scene.
Use value studies as a planning tool. Before you start your final artwork, create a series of value studies to explore different compositional options and to refine your understanding of light and shadow. This will help you to create a more successful and visually compelling artwork.
Tools and Materials for Sketching and Value Studies
Pencils and Graphite
Pencils are a versatile and essential tool for sketching and value studies. They come in a range of hardnesses, from hard (H) to soft (B), allowing you to create a variety of lines and values.
Hard pencils (H) are ideal for creating light, thin lines and are often used for initial sketches and outlines. Soft pencils (B) are ideal for creating dark, thick lines and are often used for shading and creating value studies.
Graphite pencils are made from a mixture of graphite and clay. The higher the proportion of graphite, the softer and darker the pencil. Experiment with different hardnesses to find the pencils that best suit your style and needs.
Mechanical pencils are a convenient option for sketching, as they maintain a consistent line weight and don't require sharpening. They are also available in a range of lead sizes and hardnesses.
Graphite sticks and powdered graphite are also useful for creating value studies. They allow you to quickly cover large areas with tone and to create smooth, even gradients.
Charcoal and Conte Crayons
Charcoal is a classic drawing medium that is ideal for creating rich, dark values and expressive lines. It is made from burnt wood or other organic materials and comes in a variety of forms, including vine charcoal, compressed charcoal, and charcoal pencils.
Vine charcoal is soft and easily erasable, making it ideal for initial sketches and loose shading. Compressed charcoal is harder and creates darker, more permanent lines. Charcoal pencils offer a combination of control and expressiveness.
Conte crayons are similar to charcoal but are made from a mixture of pigment, clay, and graphite. They come in a range of colors and values and are often used for creating finished drawings and value studies.
Charcoal and conte crayons can be used on a variety of surfaces, including paper, canvas, and board. They are often used in conjunction with other drawing media, such as pencils and graphite.
When working with charcoal and conte crayons, it's important to use a fixative to prevent smudging. Fixative is a spray that seals the drawing surface and protects it from damage.
Paper and Sketchbooks
The type of paper you use can have a significant impact on the quality of your sketches and value studies. Choose a paper that is appropriate for the medium you are using and that has a surface that you enjoy working on.
For pencil and graphite sketches, a smooth or slightly textured paper is ideal. Smooth paper allows you to create fine details, while textured paper provides some tooth for the graphite to grip onto.
For charcoal and conte crayon drawings, a textured paper is essential. The texture allows the charcoal to grip onto the surface and create rich, dark values.
Sketchbooks are a convenient way to keep your sketches and value studies organized. Choose a sketchbook that is the right size for your needs and that has a paper that you enjoy working on.
Consider using toned paper for your value studies. Toned paper provides a mid-tone value that allows you to more easily create a full range of values, from light to dark.
Techniques for Effective Sketching
Gesture Drawing
Gesture drawing is a technique used to quickly capture the essence of a form or movement. It focuses on the overall flow and energy of the subject, rather than precise details.
Use loose, flowing lines to capture the gesture. Don't worry about accuracy or perfection; simply focus on capturing the overall feeling of the subject.
Pay attention to the weight and balance of the subject. Consider how the subject is positioned and how its weight is distributed.
Use gesture drawing as a warm-up exercise before more detailed sketching. It can help you to loosen up and to connect with your subject.
Practice gesture drawing regularly to improve your ability to capture movement and form.
Contour Drawing
Contour drawing is a technique used to define the edges of a form. It involves carefully tracing the outlines of the subject with a continuous line.
Focus on observing the contours of the subject closely. Pay attention to the curves, angles, and changes in direction.
Use a slow, deliberate line to capture the contours. Avoid lifting your pencil from the paper as much as possible.
Contour drawing can help you to improve your observational skills and to develop a better understanding of form.
Experiment with blind contour drawing, where you look at the subject but not at your paper. This can help you to improve your hand-eye coordination and to develop a more intuitive understanding of form.
Cross-Hatching
Cross-hatching is a technique used to create value by layering lines that intersect each other. The density and direction of the lines determine the value.
Use parallel lines to create a base value. The closer the lines are together, the darker the value.
Add a second layer of lines that intersect the first layer. This will create a darker value and a more textured appearance.
Continue adding layers of lines to create even darker values. The more layers you add, the darker the value will be.
Experiment with different line directions and spacing to create a variety of textures and values.
Applying Value Study Techniques
Grisaille Painting
Grisaille is a monochrome painting technique in gray, used to model form. Often used as an underpainting for color glazes.
Begin with a toned canvas or paper to establish a mid-tone.
Apply layers of gray paint to define the light and shadow, focusing on building form and depth.
Ensure smooth transitions between values for a realistic effect.
Grisaille provides a solid foundation for adding color in subsequent layers.
Tonal Shading Techniques
Tonal shading involves using varying degrees of light and dark to create a sense of depth and form. It relies on smooth transitions between values to achieve a realistic effect.
Start by identifying the light source and the areas that will be in highlight and shadow.
Apply light layers of shading, gradually building up the values. Use a blending tool or your finger to smooth the transitions between values.
Pay attention to the subtle changes in value that occur across the surface of the form. This will help to create a more realistic and nuanced effect.
Tonal shading is a versatile technique that can be used with a variety of drawing media, including pencils, charcoal, and pastels.
Using Digital Tools for Value Studies
Digital tools offer a convenient and versatile way to create value studies. Software like Photoshop, Procreate, and Krita provide a range of brushes, blending tools, and other features that can help you to explore different values and shading techniques.
Start by creating a new document with a grayscale color mode. This will ensure that you are only working with values and not colors.
Use a variety of brushes to create different effects. Experiment with different sizes, shapes, and textures to find the brushes that best suit your style.
Use the blending tool to smooth the transitions between values. This will help to create a more realistic and nuanced effect.
Take advantage of the layers feature to create separate layers for different values and shading effects. This will give you more control over the final result.
Practice Exercises for Improvement
Still Life Value Studies
Set up a simple still life arrangement with a few objects and a light source. Focus on creating a value study of the arrangement, paying attention to the light and shadow, forms and proportions, and general composition.
Choose objects with different shapes and textures. This will give you practice in rendering a variety of surfaces and materials.
Position the light source to create interesting shadows and highlights. Experiment with different lighting angles to see how they affect the overall composition.
Create several value studies of the same arrangement, each with a different focus or approach. This will help you to develop your skills and to refine your understanding of value.
Use a variety of drawing media, such as pencils, charcoal, and conte crayons, to create your value studies. This will give you practice in working with different materials and techniques.
Landscape Value Studies
Go outside and find a landscape scene that inspires you. Create a value study of the scene, focusing on the overall composition, the light and shadow, and the sense of depth and atmosphere.
Simplify the scene to its essential elements. Focus on the major shapes and values, rather than getting bogged down in details.
Use a limited value range to create a sense of atmosphere. Soften the edges of distant objects to create a sense of depth.
Create several value studies of the same scene, each with a different focus or approach. This will help you to develop your skills and to refine your understanding of landscape painting.
Use photographs as a reference, but don't simply copy them. Focus on interpreting the scene and creating your own artistic vision.
Portrait Value Studies
Find a photograph of a person that you admire. Create a value study of the portrait, focusing on the facial features, the light and shadow, and the overall likeness.
Start by creating a simplified value sketch of the face. Focus on the major planes and values, rather than getting bogged down in details.
Pay attention to the subtle changes in value that occur across the surface of the face. This will help to create a more realistic and nuanced likeness.
Use a soft pencil or charcoal to create smooth transitions between values. This will help to create a more natural and flattering portrait.
Practice drawing portraits from life as well as from photographs. This will help you to improve your observational skills and to develop a better understanding of human anatomy.
Conclusion
Exploring the world of Sketchbook Peek: Rough Sketching and Value Studies is a journey into the heart of artistic creation. It's about understanding the vital role that initial sketches and value studies play in developing a successful artwork. From capturing fleeting ideas to refining forms and understanding the interplay of light and shadow, these practices are fundamental for any aspiring artist.
We've covered various techniques, tools, and exercises to help you hone your skills in this area. Remember, consistent practice is key. Don't be afraid to experiment, make mistakes, and learn from them. The more you sketch and study values, the better you'll become at translating your artistic vision onto paper.
So, grab your sketchbook, your favorite pencils, and start exploring the world around you. Embrace the raw, unfiltered process of creation, and watch your artistic skills flourish. The possibilities are endless, and the journey is just beginning.
We hope this guide has inspired you to delve deeper into the world of art and to embrace the power of initial sketching and value studies. Remember to keep practicing, experimenting, and exploring your own unique artistic voice.
If you enjoyed this article and found it helpful, be sure to check out our other articles on art techniques, tips, and inspiration. We're constantly adding new content to help you on your artistic journey. Happy creating!
- Capturing the Fleeting Idea
- Exploring Compositional Possibilities
- Refining Forms and Proportions
- Defining Light and Shadow
- Creating Depth and Form
- Simplifying Complex Scenes
- Pencils and Graphite
- Charcoal and Conte Crayons
- Paper and Sketchbooks
- Gesture Drawing
- Contour Drawing
- Cross-Hatching
- Grisaille Painting
- Tonal Shading Techniques
- Using Digital Tools for Value Studies
- Still Life Value Studies
- Landscape Value Studies
- Portrait Value Studies